CenteOS 6.3中Rsync安装及配置教程
发布时间:01/15 来源: 浏览:
关键词:
Rsync是一款同步工具了,它可以在linux系统使用也可以在windows中使用了,下面我们来介绍在CenteOS 6.3中Rsync安装及配置教程
本博客所用的服务器是阿里云的CenteOS 6.3,而之前都是给公司的服务器配置备份同步,今天给自己的服务器配置备份以及备份。
第一步: 安装Rsync服务
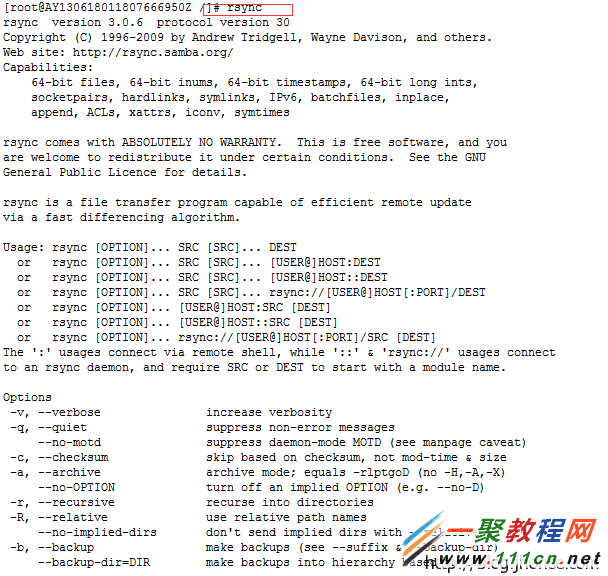
查看是否安装Rsync服务
1 |
rsync |
安装Rsync服务
1 |
yum install rsync |
第二步: 配置Rsync.conf文件
在/home/jhonse/etc/下创建rsync.conf
代码如下
uid = root
gid = root
use chroot = no
max connections = 2
strict mades = yes
port = 873
pid file = /home/jhonse/var/run/rsyncd.pid
lock file = /home/jhonse/var/run/rsync.lock
log file = /home/jhonse/var/log/rsyncd.log
[jhonseCode]
path = /www
read only = false
transfer logging = yes
list = no
hosts allow = *
auth users = root
secrets file = /home/jhonse/etc/rsyncd.secrets
[jhonseDataBase]
path = /alidata/server/mysql/var
read only = false
transfer logging = yes
list = no
hosts allow = *
auth users = root
secrets file = /home/jhonse/etc/rsyncd.secrets
第三步: 创建rsyncd.secrets密码文件
格式: 用户:密码
并设置该文件的权限
chmod 600 /home/jhonse/etc/rsyncd.secrets
第四步: 启动rsync服务端
rsync --daemon --config=/home/jhonse/etc/rsyncd.conf


